A while ago, Hari Menon set out to build a
mobile app using PhoneGap. Luckily for our community, he started working on a
mobile client for Travis CI.
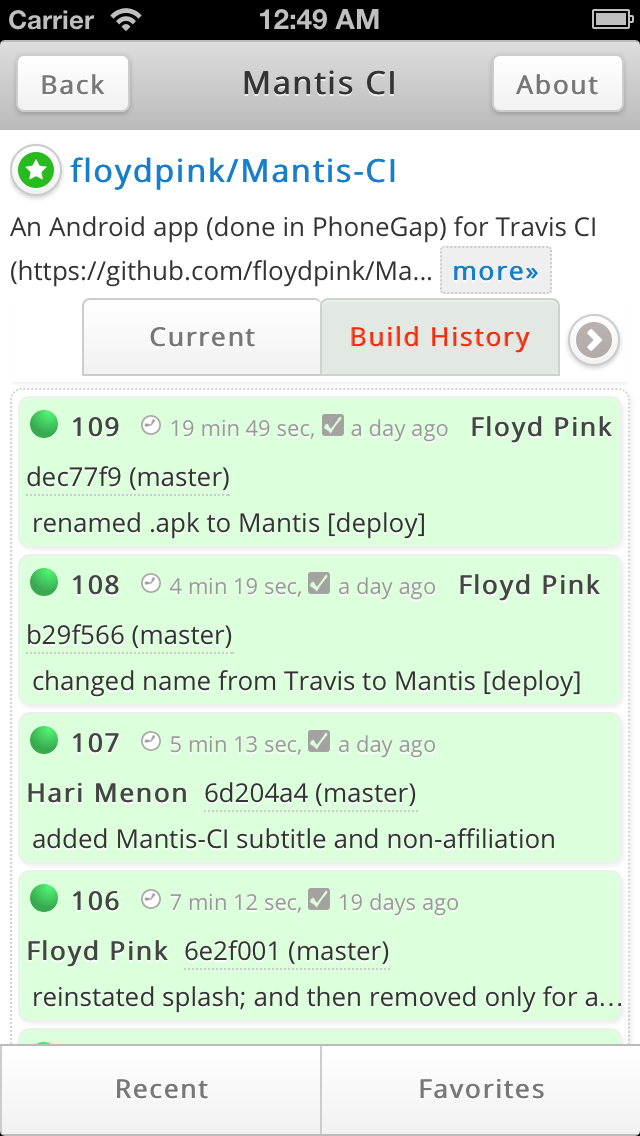
The result is Mantis CI, an iOS and
Android app, allowing you to interact with your repositories on Travis CI,
available on both the Apple App
Store and Google
Play.
We’ve recently made some exciting additions to the Travis CI family and we thought that called for some introductions. With our new teammates settled in, we’re getting pretty excited about the growth of Travis CI and the new things to come! They’ve got big things planned for Travis CI’s future.
#Piotr Sarnacki
</div>
Piotr is not only a Rails and Ember contributor, but also a Polish Nicholas Cage impersonator! He started working for Travis CI as an open source intern from Engine Yard, but has since joined us full time working on everything from our web UI, our API, and everything inbetween. Piotr has been instrumental is helping Travis CI scale, adding great new features, and generally making Travis CI more and more awesome every day.
#Anika Lindtner
</div>
We love open source and giving back to the community, and with the help of Anika we plan to be doing more and more of that. Anika has been working tirelessly on running the fantastic Rails Girl Summer of Code, and soon she will be heading up our community management, as well as a super secret project we will be announcing soon, stay tuned :)
#Justine Arreche
</div>
While at eurucamp this year we were lucky to have run into Justine who was speaking about how designers and developers can work better together. Justine is an awesome designer and helped build sites like Git Immersion, ScotRuby Conf 2012, and JRuby Conf 2011, just to name a few. She will be at the core of helping make Travis CI awesome, plain and simple!
##And finally…
#Travis
</div>
Who can forget Travis, our awesome mascot created by the awesome StickerMule. There is so much awesome rolled up in this little guys mustache we don’t know where to begin! Lets just say that he will be showing his pretty face more and more around Travis CI over the coming months :)
If you have a moment, send Piotr, Anika and Justine a hug to welcome them to the team :)
Recently, we’ve been adding new providers and other goodies to our continuous deployment.
This is a wrap-up of what’s been happening.
All these features are immediately available to all our users including our Travis Pro customers.
Releasing to PyPI
Just like Ruby developers, Python package developers can now also enjoy continuous releases, thanks to our new support for PyPI!
Simply add the following lines to your .travis.yml:
deploy:
  provider: pypi
  user: "YOUR_USER_NAME"
  password: "YOUR_PASSWORD" # should be encrypted with `travis encrypt`
To make things even easier, if you’ve installed our command line tool,
you can simply run the following in a clone of your repository:
$ travis setup pypi
Just follow the prompts to get set up releasing to PyPI.
As with RubyGems, you might only want to trigger a new release when the commit has been tagged. It’s pretty straight forward.
Just add the tags condition to your deploy section so that it looks like this:
deploy:
  provider: pypi
  user: "YOUR_USER_NAME"
  password: "YOUR_PASSWORD"
  on:
    tags: true
Release your NodeJS packages to NPM
In a similar vein, we didn’t want NodeJS users to feel left out, so today we’re happy to announce support for releasing packages to NPM!
Setting this up is just like deploying or releasing to any other service. Just add the following lines to your .travis.yml:
deploy:
   provider: npm
   email: "YOUR-EMAIL-ADDRESS"
   api_key: "YOUR-API-KEY" # should be encrypted with `travis encrypt`
To retrieve your api key, you’ll need to have the npm tool installed. Run the following command:
$ npm login
Follow the prompts to log in to your NPM account. You can then find your API key in your ~/.npmrc file.
That’s it!
Again, if you’ve installed our command line tool,
you can simply run the following in a clone of your repository:
$ travis setup npm
Allowing Deployment Failures
If you’ve been using continuous deployment on Travis CI, you may have noticed that if anything goes wrong during the deployment process,
it causes that job to be marked as failed or errored. We’ve had mixed reactions to this: it’s considered a bug by some, and a feature by others.
Today, we’re happy to announce that you can now decide whether or not a deployment problem should cause a job to fail.
Simple add allow_failure: true to the deploy section of your .travis.yml. It should look like this:
deploy:
  provider: ...
  allow_failure: true
Now, any problem during deployment won’t reflect in the status of a build.
Deploying to Multiple Providers
We’ve been hard at work adding support for deploying to your favourite cloud providers. But, until now, you’ve been limited to choosing only one provider per repository.
Today, we’re happy to announce support for deploying to multiple providers from within the same build! To set this up, simply add as many provider sections as you want to your .travis.yml, placing a dash (-) before each provider.
For example, if you want to deploy to Heroku and Nodejitsu, set up your .travis.yml to look like this:


 </div>


 </div>